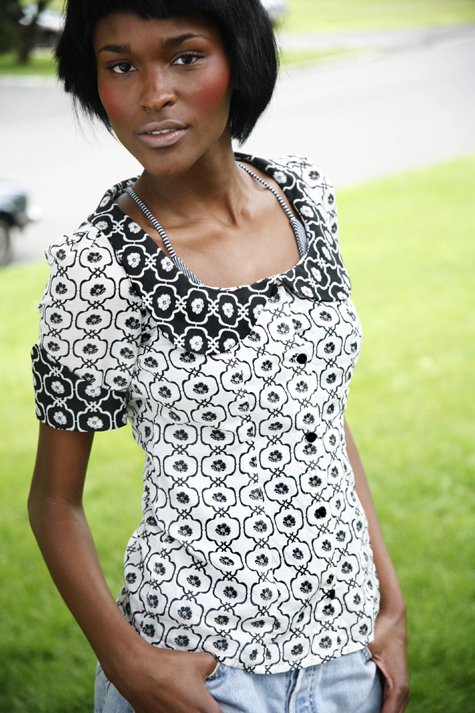
My jeans are finally finished! Here are some pictures, and below is a complete overview of the project.
Pattern
For these jeans, I used the pattern for hip-fitting jeans from
Schnittvision Vol. 7. (The program also includes a pattern for jeans with a higher rise.) Once I got the software working, it was easy to enter my measurements and print the pattern. Although the pattern was already fitted to me, I still made a few adjustments, using my favorite pair of
Express jeans as a point of comparison:
- On both the front and back pieces, I added 2-3 inches to the width of the leg at the cuff, tapering to nothing at the knee. Despite looking really flared in the picture, the original pattern would have yielded more of a boot-fit based on the finished measurements. I also lengthened the legs a bit, so I'd have lots of room for adjustment and for shrinkage.
- I drafted my own pattern for a coin pocket, which wasn't included, again using my own jeans as a model.
- Based on my first test fit, I added 1/4 inch to the width of the thigh, tapering to nothing at the hip and at the knee. (I guess that's what I get for training to run a marathon--beefy thighs!) There is a "prominent thigh" option when you're creating the pattern, but it seemed complicated, and this solution was easy enough.
- I increased the width of the waistband from 2 to 2 1/2 inches, since with the original waistband they were too low rise for comfort. Adding this extra height created gapping in the back. But since the waistband was already seamed at the center back, I made an adjustment there to eliminate the gap
There's a lot to like about the Schnittvision jeans pattern--first and foremost that it is custom-fitted to one's own unique derriere. Overall, I was quite pleased with the pattern, but I do have a few quibbles. First of all, the pattern didn't have consistent seam allowances--in some places, the allowance was 5/8 inch, and in others it was closer to 3/8. Which meant sometimes I was trying to sew french seams with only 3/8 inch to work with. I'm certain these differences in the seam allowance were intentional, but I'm not at all sure what their intention was. And it meant I had to check the seamlines on my paper pattern pieces before every step.
My other problem was with the pattern for the front pocket bags, which inexplicably had neither a fold line nor a seam allowance on the edge closest to the center front. Maybe they thought the raw edges of the pocket would be captured during the zipper installation, but because the fly is asymmetrical, that only worked on one side, so I had to go back and sew it closed after the fact. These are hardly major problems, and to be fair, perhaps some of them might have been avoided if I had been able to read the instructions.
In the end, I'm also not completely convinced by the fit. Despite my adjustment to the waistband, these jeans are
very low rise in the back, and sitting or bending over can be a bit dicey. When I make my next pair, I'm definitely selecting the "round bottom" option, rather than the "regular" option, when I create my pattern in Schnittvision. (Silly me, assuming that my bottom was "regular"!) I'm pretty sure that will fix the problem.
Materials
- mid-weight dark wash stretch denim, 1% lycra. From Joann Fabrics, on sale & with a coupon, for less than $5 a yard. (I don't remember exactly how much it ended up costing, but it seems like Joann has denim on sale pretty often.)
- Gutterman jeans topstitching thread, plus regular navy thread in the bobbin
- metal jeans zipper, which I had to shorten considerably
- Tack buttons from ebay
- rivets from Haberman's
- lightweight woven interfacing
- one pair of old boxers for the pockets
- PVA bookbinder's glue for basting--this is basically elmer's glue, only better, and in large quantities
Construction
Since I couldn't read the original instructions in German, I used the dowloadable instructions for
Jalie's stretch jeans, and referred frequently to
Johanna's tutorials.

I basted with glue
a lot and I wish I could do it all the time. I found that when I used glue, I usually didn't need to iron to get a sharp corner, so that simplified the pockets a great deal.
I drafted my own pattern for the decorative stitching on the pockets, then made a template from an old file folder. To get the full pattern, I just drew the center line, then traced this template twice, once right-side-up, and once upside-down.
My sewing machine is a vintage all-metal Kenmore machine from the 60s or 70s, and it handled the denim beautifully. I used a jeans needle, which also worked great. At times, I needed to hand-crank my machine, but mostly it did fine on its own. I did try one trick for sewing the really bulky places where several seams come together: After sewing the seam, I took it out to the garage and hit the lumpy part with a hammer a couple of times before I topstitched it. I think it helped flatten the seam and made it easier for my machine to sew over it. That said, I definitely have a
jean-a-ma-jig on my wishlist for the future.
I was initially worried about sewing the fly, but it turned out to be really easy, and mostly intuitive. It was also really satisfying, because the results look so professional when you're done, especially with a metal zipper. The hardest part was removing the zipper teeth to shorten it. In the end, I gave up and handed it over to the Mr., who had much more success. He claims that the key is to grab the tooth only at the end, so you aren't pinching it closed at the same time that you're trying to pull it loose. But I couldn't make it work no matter what I did.
I used french seams throughout, and I topstitched most everything except the side seams below the hip. There, I used a decorative stitch instead of a bar tack to end my line of topstitching. If you look carefully, most RTW jeans also don't have topstitching all the way down the leg, either.
I followed the advice of the folks on pattern review and washed and dried my finished jeans several times before finally hemming them. I also washed and dried the fabric before I cut, so hopefully it won't shrink too much more at this point.
Shout-Outs
When I was getting ready to do this project, I read everything I could about jeans. I'm certain I haven't attributed every tip or technique I used, but here are some of the many awesome reviews, tutorials, and other resources out there for sewing jeans.


 I basted with glue a lot and I wish I could do it all the time. I found that when I used glue, I usually didn't need to iron to get a sharp corner, so that simplified the pockets a great deal.